Upgrade Your Comfort with Helpful Tips from Our Blog
Looking for other ways to improve your sense of comfort at home? We’re always sharing industry news and insider tips on our Blog. Check out our newest updates today!
Here are eight warning signs that your furnace may need to be replaced. Thanks to Home Energy Center, which compiled this report based on research undertaken by the federal Department of Energy, the Environmental Protection Agency, Minnesota Department […]
There are three ways to deal with a leaky evaporator coil, and each one has advantages and disadvantages. Let me give you some information so you can decide which is the best route for you to take. Every […]
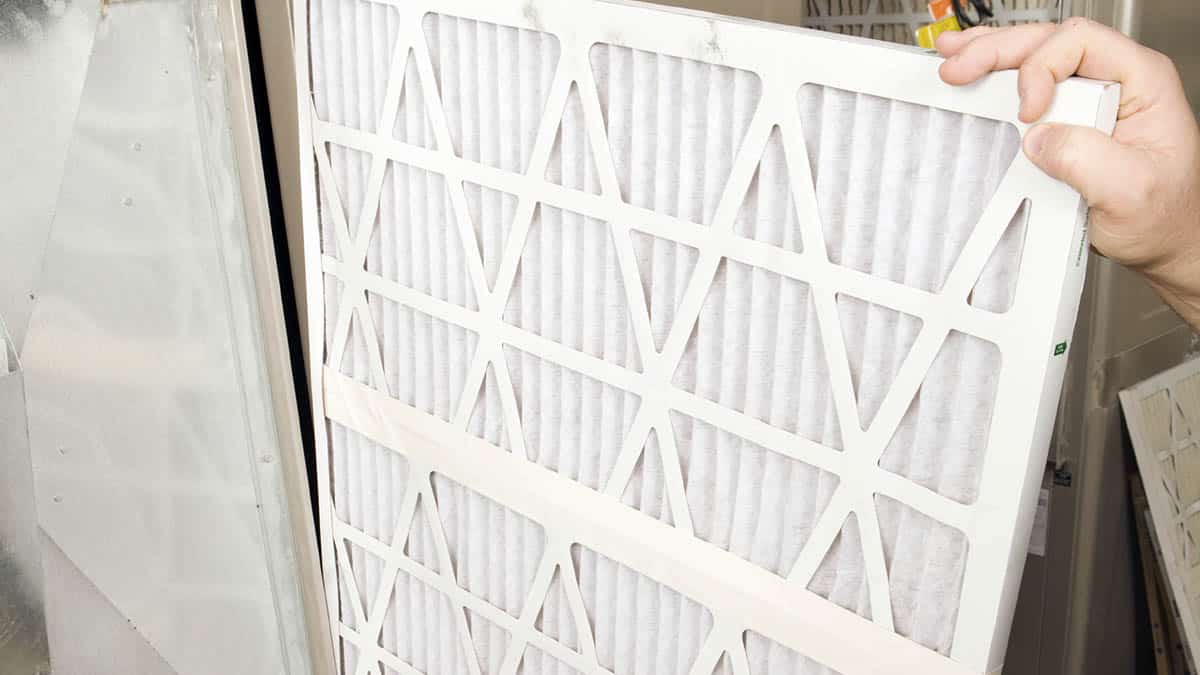
Filtrete Air Filters are a popular and top rated brand in the air filtration industry. However, there are some shortfalls of the Filtrete Air Filter. One Inch Size: Filtrete Air Filter are only 1″ thick. Filter depth provides […]
Two types of heat are important in air conditioning. These include: What is Sensible Heat? Sensible heat is heat exchanged by a thermodynamic system that changes the temperature of the system without changing some variables such as volume […]
Costco is a great retailer and has put more resources into the HVAC category. Lennox and Costco have partnered so Lennox is the exclusive HVAC Brand offered by Costco. This is a very impressive endorsement as Costco has always been known […]
In 2009, the United States adopted the International Energy Conservation Code, or IECC. The purpose of this legislation was to set forth a long term system of energy efficiency upgrades within certain geographic areas of the United States. […]
Disconnects Electrical work can be dangerous and complicated. Work on your AC unit may require the technician to cut power to the unit to complete repairs or perform a diagnostic screening. A disconnect, disconnect switch or isolator is […]
Refrigerant Caps and Drug Abuse Some people have addictions to chemicals. Some people have the desire to alter their individual state and this is sometimes called self-medicating. One of the phenomena happening in this world of drug abuse […]
PSC Motors A PSC or permanent split capacitor is a type of motor that is designed to do two things. It turns on and it turns off. The electrical output of the motor is not controllable and there […]
The purpose of a refrigerant drier is to ensure the refrigerant system stays clean and dry. It removes contaminants including moisture, dirt, acid and solder flux, beads and filings. Whenever the refrigerant system is opened for repair or […]

